Today we will be talking about Vulnerability scanning. Do NOT perform these scans on a network you do not have permission to do so on. This is for educational purposes ONLY. It is not my responsibility if you are scanning a network you shouldn't be scanning. Always get permission FIRST before you perform any of the below items. If you scan a network you do not have permission to scan you can get into serious trouble and may even face legal action.
The first item you will need is Virtual Box. We are using Virtual Box to allow us to virtualize 2 machines here: a host machine and a target machine. Virtual Box is free compared to VMWare, so it is preferred. In order to get your copy of VBox, go here: https://www.virtualbox.org/wiki/Downloads
Download the appropriate version for your Operating System (OS).
Next, you will need BackBox or any equivalent Linux flavor. Perform the steps below in order to get BackBox, but first go to the website and download the appropriate version you would like: http://www.backbox.org/downloads
VBox will start up looking like the below image. You just need to click "New" from here.

It will ask you the Name, Type and Version. Enter the below data and give it a name.

Next is memory, you will want to give it a significant amount of memory so it can perform things in a quick manner. The more the better, but up 4 GB should be good enough.


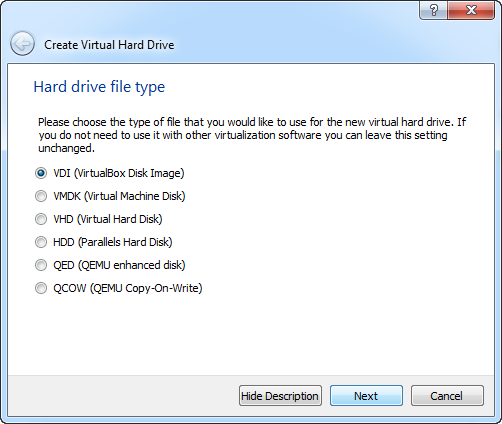
It will ask what format do you want to slice the Physical Hard Drive into. I usually do it in a VDI format, but VMDK will work, too. (any really)
Make sure you enter it as "Fixed Size" or the hard drive will grow based on the needs of the OS and if your Virtual Box gets too cluttered, it will eat up the Host's space. We don't want that!

Here is where you select the size, remember I stated 20 GB is good.

Below is what you will see as it creates this new HDD.

Once you create this HDD, when you create NEW machines later on, you can attach this HDD to other Virtual Machines as it will prompt you here below:

Before you boot BackBox, make sure you have the image you downloaded from the website set to the disc shown in the picture below. If you only have the .vdi (the virtual Hard Drive) and now disk, then you will be essentially booting a blank Hard Drive. Click the disk or in this case "Empty" and on the right under "Attributes" you can select a disk or image to have mounted in your virtual tray when you boot.

Once you boot from the image and you have your Virtual Hard Drive ready to go, you will see the below screen. Go ahead and hit enter on "Try BackBox without installing"


Once it completes, you have Back Box installed and you are ready to go!
If you want to burn a disk and install BackBox this way, then here are the instructions:
Make sure that your computer is set to boot from the cd drive.
- Insert the BackBox disc into your CD drive.
- Start or restart your computer.
- Select "Try BackBox without installing"
- Click "Install BackBox Linux". The "Language" screen appears.
- Select your desired language and click "Forward"
- Select the location closest to your location and click "Forward".
- Select where do you want to put BackBox and click "Forward".
- Enter the requested information, and click "Forward". The "Ready to install" window appears.
- Verify that the language, layout, location, and personal information are correct and click "Install". The installation wizard begins.
- When the installation wizard finishes, the "Installation complete" window appears.
- Click "Restart now" to restart your computer. BackBox is now installed!
- Getting VirualBox Guest Addons to work: http://www.dedoimedo.com/computers/virtualbox-guest-addons.html
Installing Metasploitable and getting it up and running: https://community.rapid7.com/message/4137#4137
Installing Nessus: http://uwnthesis.wordpress.com/2013/07/31/kali-how-to-install-nessus-on-kali/
Once you download Nessus, you just need to run it:

Once you have ran the debian and Nessus is installed. You just need to start the service and browse to the website: https://127.0.0.1:8834 to configure Nessus.
You're now ready to start scanning Metasploitable 2!
Disclaimer: I am not responsible for any damage or any malfunctions that may occur during the process of installing this application and use.
No comments:
Post a Comment